
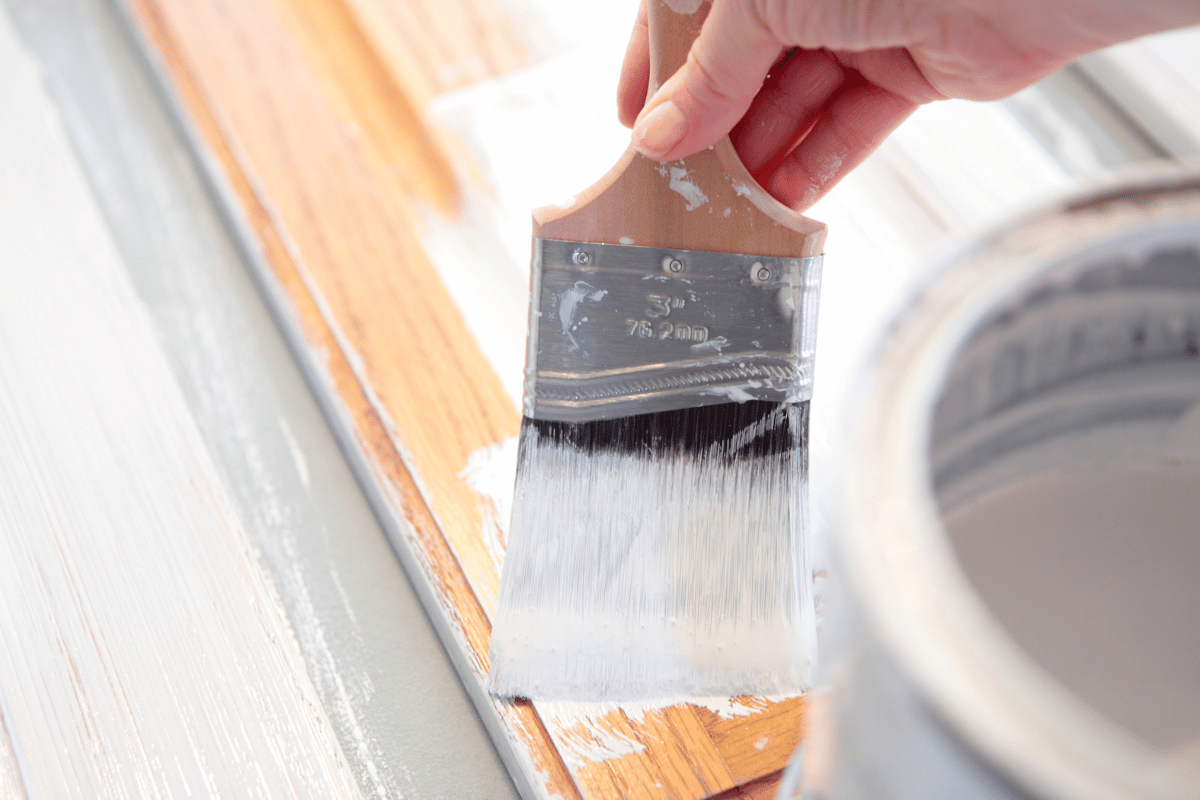
So you just received your new Paint-Grade Cabinet Doors and are ready to start painting. Don't stress out about the painting process, even if you are an inexperienced painter. With the right prep work and a little bit of patience, you can achieve a flawless application. In this article, we'll teach you all the tips and tricks you need to know for expert cabinet painting and refinishing. Let's dive in:
Tips For Painting Cabinet Doors Like a Pro
Ready to start painting your cabinet doors? Here's how you can paint cabinet doors like a pro, in your very own home.
Inspect The Cabinet Doors
First, unpack the new doors and inspect them front and back for any scratches caused by shifting during shipping. Smooth these scratches with 180-grit sandpaper and brush off the dust with a fine brush. Sand in the direction of the wood grain to avoid making cross-grain scratches on your doors.
Fully Clean the Cabinet Doors
Lay the cabinet doors flat, then wipe them with a clean cloth or blow them with compressed air to remove the last traces of dust. Laying the doors flat makes paint runs less likely and makes it easier to see your progress from the same angle.
Prime Cabinet Doors for Better Coverage
Lay the doors out flat on a drop cloth or a layer of newspaper. It will reduce your anxiety to start with the doors face down. That way, you will be finishing the backs first, so as you get better at painting, your best work will be on the front.
From there, use the roller to apply a light coat of primer to the panel and the inside detail of the stiles and rails. Then, use the brush in those deep recesses. Use the roller again to coat the flat surfaces, then use the brush to give a smooth, even finish.
After the primer is completely dry, gently sand with 220-grit sandpaper, just enough to remove any raised primer fibers and restore the smooth finish. Once this is done, turn the door over and repeat on the front. After the primer is dry and lightly finished sanded, repeat the process with a second coat of primer.
Repeat the Process and Apply Thin, Even Coats of Paint
Once the primer is dry, you are ready for the paint. The paint basically follows the same steps as the primer operation. Follow the instructions on your paint can to determine whether to sand between coats.
It's typically recommended to apply at least two to three coats of paint. Sticking with thinner coats of paint will help you avoid brush marks or paint drips.
Install the Hinges After the Paint Dries
After the paint is dry, you are ready to install the hinges. If you are using hidden hinges, like our Blum Clip-tops, try not to get paint into the 30mm hinge cups. The hinges will be a snug fit in the cups, and if you get paint in the holes, you may need to sand it out to get the hinges in.
Let Cabinet Doors Cure Before Reinstalling
Once the paint is completely dry, you'll want to leave the doors in a climate-controlled space to let them cure. It typically takes cabinet doors 24 to 72 hours to fully cure.
Tips for Painting Cabinets Without Brush Marks, Drips, or Uneven Coverage
The goal is to achieve a smooth, even finish on the entire cabinet door. To do this, here are five tips for painting cabinets on your own:
- Paint in a temperature-controlled, dust-free environment
- Invest in a quality paint roller and paint brush
- Avoid dipping the entire paintbrush into the paint. Instead, only dip the tip and remove any excess
- Invest in a high-quality primer with the same base as your paint
- Apply at least two to three coats and paint, and let each coat fully dry
How Professionally Painted Cabinets Can Upgrade a Kitchen
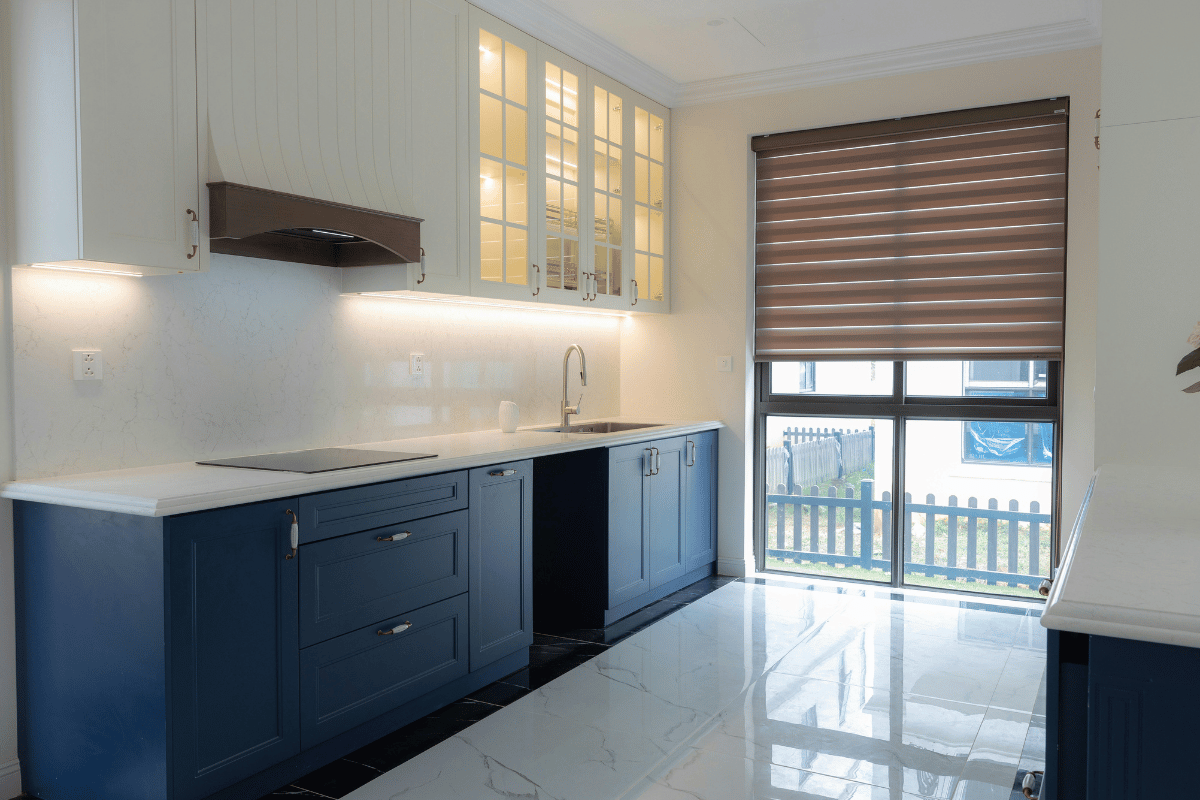
If you've never painted cabinet doors, and you're unsure how the process works, consider investing in professionally painted cabinets instead. Ordering pre-painted cabinet doors from a reliable supplier will help you achieve a professional look and feel, with half the worry. The cabinet doors will arrive, ready to install, in the paint color of your choosing.
Professional Cabinet Painting Starts With the Right Doors
Expert cabinet painting and refinishing begins with the right prep work. The preparation phase is arguably the most important part of the process. If you don't take the time to sand, prime, and fill the cabinets, you won't achieve the professional, put-together finish you want.
If you plan to DIY the painting process, ensure you have the right replacement doors. At CabinetDoors.com, we specialize in high-quality, custom-made cabinet doors and drawer fronts. We offer unmatched professionalism and service you won't find at big-box retailers. After you decide on the cabinet door style and wood species, we'll ship you custom-built cabinet doors that you can paint yourself. If you're looking for a pre-painted alternative, we have a range of Sherwin-Williams paint colors to explore.
Shop our custom cabinet door styles today.
Cabinet Door Painting FAQs
How to paint cabinet doors like a professional?
To paint cabinet doors like a professional, follow the prep steps to ensure they are ready for painting. Skipping a step can cause the paint to chip and lead to an uneven finish.
What do professionals use to paint cabinets?
Professionals use high-quality fillers, primers, and paint to paint cabinet doors. They also ensure they have the right supplies nearby, including a tack cloth, roller brush, and 220-grit sandpaper.
How do professionals repaint cabinets?
Professionals follow the priming-sanding-filling-priming process when repainting cabinet doors to ensure a flawless application.